In Teigha BIM source code, commands are implemented in the form of a container and usually a separate project. At this point in Teigha BIM there is a TB_DevGuideCommands project for this. The project is built into a file with the extension ".tx".
Connecting the container
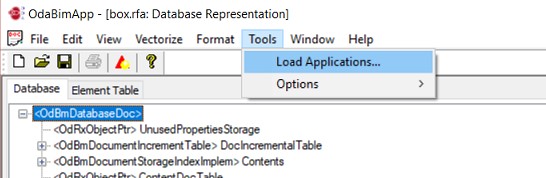
In OdaBimApp you can connect the command container. Load the tx-file into OdaBimApp by choosing Tools-> Load Applications.
In the dialog that appears, click Load.
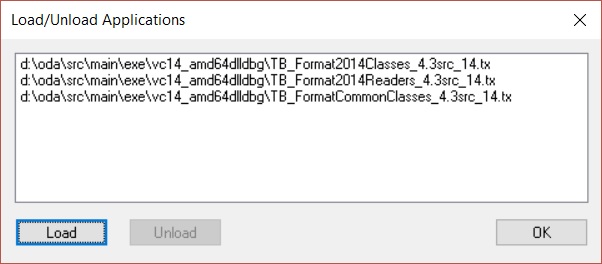
Next, select the necessary container (for example, TB_DevGuideCommands_4.3src_14.tx). As a result, the file should appear in the list.

Then click OK.
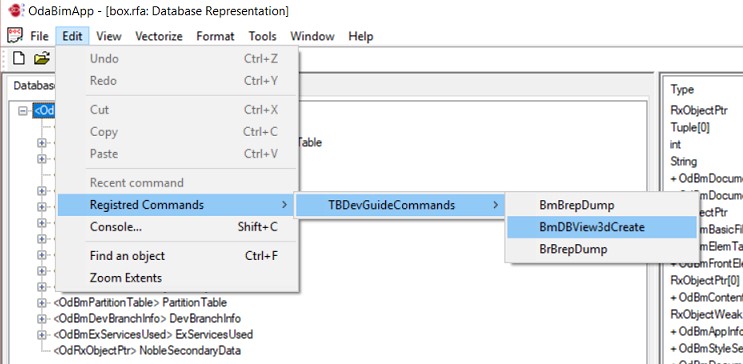
The command becomes available in the menu Edit-> Registered commands.
Executing the command
To create a new 3D view, execute the command by choosing Edit-> Registered Commands-> TBDevGuideCommands-> BmDBView3dCreate. The result is a console window for entering parameters.
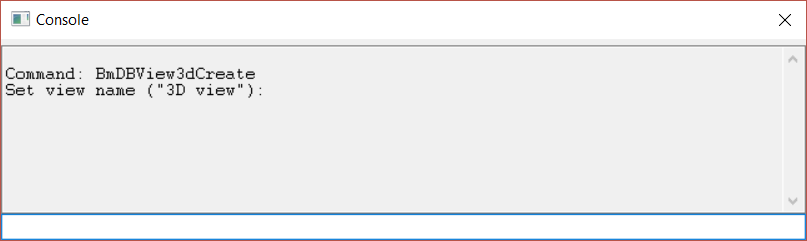
You must specify the name of the new 3D view, or you can press Enter and the default value is used: "3D view". For example, let's introduce "Teigha 3D view".
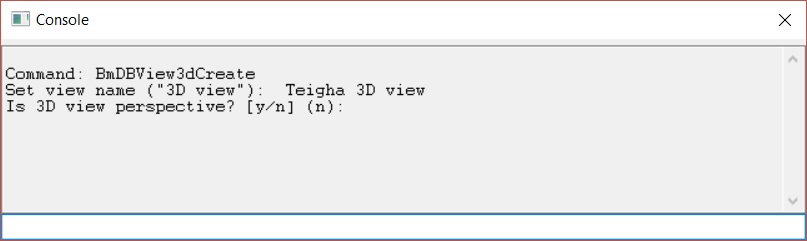
Next, you must specify whether the view is perspective by specifying "y". Any other input will be interpreted as "n". Let us introduce, for example, "n".
After that, the console window closes. You can see it by choosing Edit-> Console.
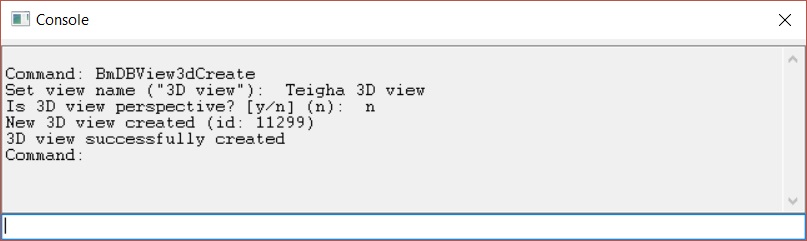
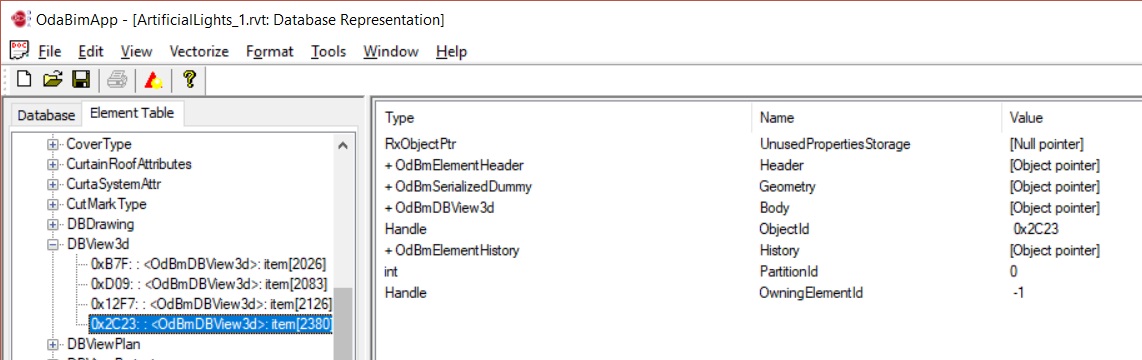
The console contains information about the ID of the created view and the successful result of the command.
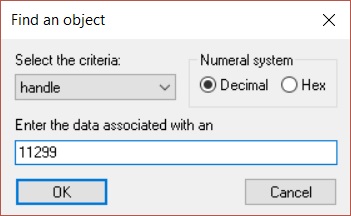
By selecting Edit-> Find an object, we can find a new object in the object tree.
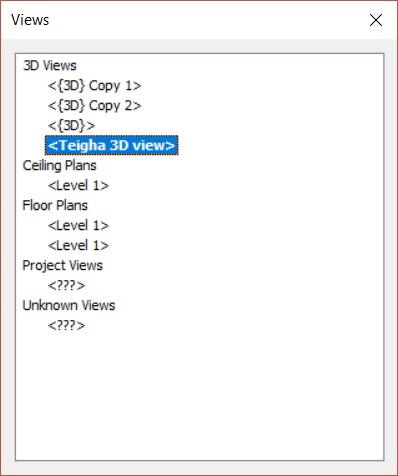
Also we can see the created view by choosing View-> Views. Double-click "Teigha 3D view" to open the created view.