[返回博客](/cn/blog) # ODA Visualize 中的碰撞检测(第 2 部分,共 3 部分)
Egor Slupko 十一月 15, 2018 [\#Visualize](/cn/blog/tag/visualize) [\#getting started](/cn/blog/tag/getting-started)
本文是关于 ODA Visualize 中碰撞检测机制系列文章的一部分。有关上一篇文章,请参阅[第 1 部分](https://www.opendesign.com/blog/2018/october/collision-detection-oda-visualize-part-1-3)。
#### 尝试 OdGsView::collide
ODA Drawings Debug 应用程序包含两个使用碰撞检测的命令:“CollideAll”和“Collide”。它们的实现可以在 TD\_DrawingsExamplesCommon 项目的 OdExCollideAllCmd 和 OdExCollideCmd 类中找到。
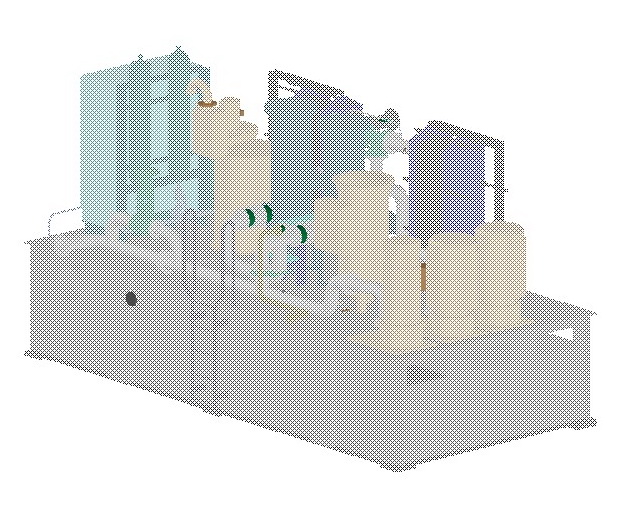
CollideAll 命令在 OdExCollideAllCmd 类中实现。此命令检测视图中所有可绘制对象之间的碰撞。
首先,它实现了一个 OdGsCollisionDetectionReactor 的继承者,该继承者在 OdArray 中复制路径:
```
class OdExCollisionDetectionReactor : public OdGsCollisionDetectionReactor
{
OdArray< OdExCollideGsPath* > m_pathes;
public:
OdExCollisionDetectionReactor()
{
};
~OdExCollisionDetectionReactor()
{
}
virtual OdUInt32 collisionDetected(const OdGiPathNode* pPathNode1, const OdGiPathNode* pPathNode2 )
{
OdExCollideGsPath* p1 = fromGiPath( pPathNode1 );
OdExCollideGsPath* p2 = fromGiPath( pPathNode2 );
m_pathes.push_back( p1 );
m_pathes.push_back( p2 );
return OdUInt32(OdGsCollisionDetectionReactor::kContinue);
}
OdArray< OdExCollideGsPath* >& pathes() {return m_pathes; }
};
```
根据用户输入,它设置 OdGsCollisionDetectionContext 以仅检测交集或同时检测交集和接触:
```
int nChoise = pIO->getInt( OD_T("Input 1 to detect only intersections, any other to detect all"), 0, 0 );
OdGsCollisionDetectionContext cdCtx;
cdCtx.setIntersectionOnly( nChoise == 1 );
```
然后它调用碰撞检测方法并从反应器收集检测到的路径:
```
pView->collide( NULL, 0, &reactor, NULL, 0, &cdCtx );
OdArray< OdExCollideGsPath* >& pathes = reactor.pathes();
```
接下来,它会高亮显示所有路径,并在用户输入后取消高亮显示这些路径:
```
for( OdUInt32 i = 0; i < pathes.size(); ++i )
{
const OdGiPathNode* p = &(pathes[i]->operator const OdGiPathNode &());
pModel->highlight( *p );
}
pIO->getInt( OD_T("Specify any number to exit"), 0, 0 );
for( OdUInt32 i = 0; i < pathes.size(); ++i )
{
const OdGiPathNode* p = &(pathes[i]->operator const OdGiPathNode &());
pModel->highlight( *p, false );
delete pathes[i];
}
pathes.clear();
```
执行此命令的结果:
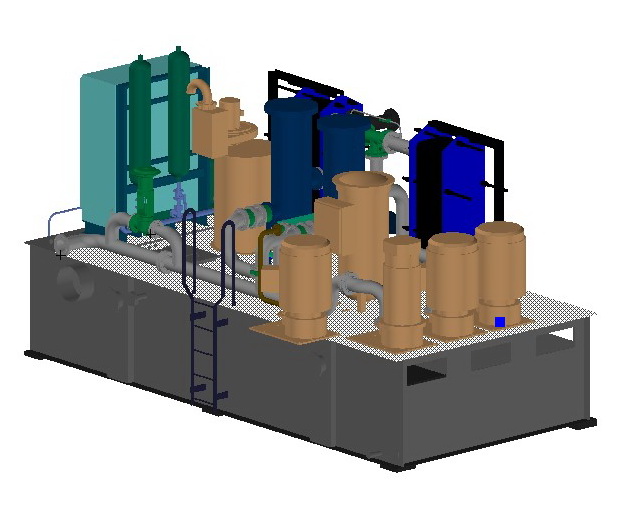
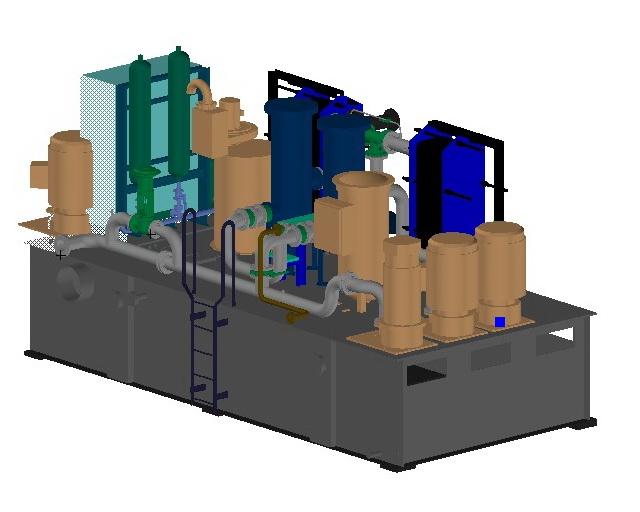
Collide 命令在 OdExCollideCmd 类中实现。此命令基于 Move 命令,并检测选定的可绘制对象与视图中所有其他可绘制对象之间的碰撞。
OdGsCollisionDetectionReactor 实现仅复制第二个 OdGiPathNode,因为第一个节点是输入节点之一:
```
class OdExCollisionDetectionReactor : public OdGsCollisionDetectionReactor
{
OdArray< OdExCollideGsPath* > m_pathes;
public:
OdExCollisionDetectionReactor()
{
};
~OdExCollisionDetectionReactor()
{
}
virtual OdUInt32 collisionDetected(const OdGiPathNode* /*pPathNode1*/, const OdGiPathNode* pPathNode2 )
{
OdExCollideGsPath* p = fromGiPath( pPathNode2 );
if( p || pPathNode2->persistentDrawableId() )
{
m_pathes.push_back(p);
}
return OdUInt32(OdGsCollisionDetectionReactor::kContinue);
}
OdArray< OdExCollideGsPath* >& pathes() { return m_pathes; }
};
```
当命令执行时,它会要求用户选择一些对象(或使用已选定的对象)作为输入,创建其自己的跟踪器实例,并使用跟踪器执行 pIO->getPoint 方法:
```
OdDbSelectionSetPtr pSSet = pIO->select(L"Collide: Select objects to be checked:",
OdEd::kSelAllowObjects |
OdEd::kSelAllowSubents |
OdEd::kSelLeaveHighlighted);
if (!pSSet->numEntities()) throw OdEdCancel();
OdExTransactionSaver saver( pDb );
saver.startTransaction();
OdGePoint3d ptBase = pIO->getPoint(L"Collide: Specify base point:");
CollideMoveTracker tracker( ptBase, pSSet, pDb, pView );
OdGePoint3d ptOffset = pIO->getPoint(L"Collide: Specify second point:", OdEd::kGdsFromLastPoint | OdEd::kGptRubberBand, 0, OdString::kEmpty, &tracker);
```
此跟踪器创建选定对象的 OdGiPathNode 表示,并为每个鼠标移动事件将其用作 OdGsView::collide 方法的输入列表:
```
OdExCollisionDetectionReactor reactor;
m_pView->collide( inputArray.asArrayPtr(), inputArray.size(), &reactor, NULL, 0 );
highlight( reactor.pathes() );
```
在 OdGsView::collide 方法之后,它会取消高亮显示已高亮显示的对象,并高亮显示新检测到的碰撞:
```
void CollideMoveTracker::highlight( OdArray< OdExCollideGsPath* >& newPathes )
{
//1) Unhighlight old paths
if( !m_prevHLPathes.empty() )
{
for( OdUInt32 i = 0; i < m_prevHLPathes.size(); ++i )
{
m_pModel->highlight( m_prevHLPathes[i]->operator const OdGiPathNode &(), false );
delete m_prevHLPathes[i];
}
m_prevHLPathes.clear();
}
//2) Highlight new paths
for( OdUInt32 i = 0; i < newPathes.size(); ++i )
{
m_pModel->highlight( newPathes[i]->operator const OdGiPathNode &(), true );
m_prevHLPathes.push_back( newPathes[i] );
}
}
```
此命令允许移动实体并查看它们之间是否发生碰撞:
本系列的下一篇文章将介绍 OdGiCollideProc 和 OdGiCollisionDetector。
## 今天就开始行动
**免费试用 ODA 软件 60 天。
无风险,无需信用卡。**
[免费试用](https://www.opendesign.com/cn/free-trial)