COLLADA is short for Collaborative Design Activity. DAE files are based on the XML COLLADA format, and they are used by various graphics programs to exchange digital assets under the same format. Each file consists of a set of elements that are images, lights, geometries, effects, materials, cameras, etc.
The TB_ColladaImport module reads .dae files and imports their data to .rfa/.rvt files. Currently, Teigha BIM can import geometry and materials. The module contains several classes that are summarized below.
|
Class name |
Description |
|
OdColladaImportImpl |
Declares the ColladaImportCommand class which is used in OdaBimApp to import a .dae file. Also creates the DocumentImporter object, which controls the import process. |
|
DocumentImporter |
Creates GeometryImporter, MaterialImporter, EffectImporter, ImageImporter, MaterialCreator, GeometryCreator and other objects. |
|
MaterialImporter GeometryImporter EffectImporter ImageImporter |
These classes collect the appropriate data from a .dae file and store it in the DocumentImporter’s fields (maps and vectors). |
|
MaterialCreator |
Uses the data retrieved by the MaterialImporter, EffectImporter and ImageImporter to create an OdBmMaterialElem object and fill it with corresponding data (color, texture, etc.). |
|
GeometryImporter |
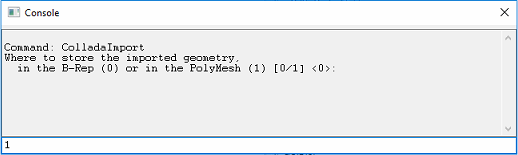
Iterates through meshes prepared by the GeometryImporter and creates DirectShape objects for every mesh. Then stores the imported geometry in a B-Rep or in a polymesh depending on the storage mode and puts it to DirectShapes. |
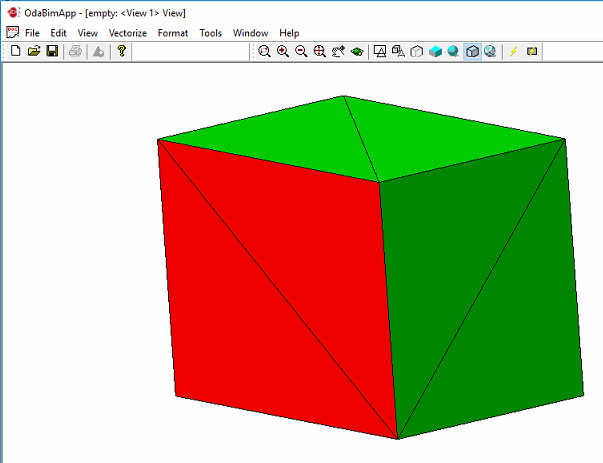
In the OdaBimApp.exe sample application we can see how it works. For example, you can import a .dae file that contains a cube, five sides of which are green and one is red. To import this file, open an .rfa/.rvt file, then choose File > Collada Import. After selecting a file, choose the store method for imported geometry in the dialog that displays.
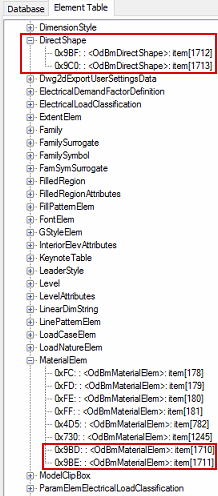
The Database and the Element Table trees will be updated.
The imported objects will be rendered after the import process is complete.