[Back to Blog](/blog) # Working with raster image files
Andrew Markovich February 02, 2017 [\#Raster image](/blog/tag/raster-image) [\#Example](/blog/tag/example)
A question we’re often asked is: How do I modify raster image data in Teigha? Sometimes a developer is confused by the absence of raster image editing functions in the OdGiRasterImage API, which contains only raster image data getters. This article shows how raster images can be modified after loading.
### Loading raster images from a file
For loading raster images from a file, Teigha provides a raster services module which can be accessed at runtime using the Teigha dynamic linker:
```
OdRxRasterServicesPtr pRasSvcs = odrxDynamicLinker()->loadApp(RX_RASTER_SERVICES_APPNAME, false);
if (pRasSvcs.isNull()) // Check that raster services module correctly loaded
throw OdError(eNullPtr);
```
For dynamic library project configurations, the **“RxRasterServices.tx”** module must be available in the application directory. For static library project configurations, the application must link with the **“RxRasterServices”** static library, and the raster services module must be registered in the Teigha static modules map:
```
ODRX_DECLARE_STATIC_MODULE_ENTRY_POINT(ExRasterModule);
ODRX_DECLARE_STATIC_MODULE_ENTRY_POINT(OdRasterProcessingServicesImpl);
ODRX_BEGIN_STATIC_MODULE_MAP()
ODRX_DEFINE_STATIC_APPLICATION(RX_RASTER_SERVICES_APPNAME, ExRasterModule)
ODRX_DEFINE_STATIC_APPLICATION(OdRasterProcessorModuleName, OdRasterProcessingServicesImpl)
ODRX_END_STATIC_MODULE_MAP()
```
In this example, we additionally registered the raster processing module since it can be required during raster image loading or saving.
If the raster services module loaded correctly, we can load a raster image from a file using a single call:
```
OdGiRasterImagePtr pInputImage = pRasSvcs->loadRasterImage(inputFileName);
if (pInputImage.isNull()) // Check that raster image correctly loaded
throw OdError(eNullPtr);
```
The OdRxRasterServices::loadRasterImage method detects the raster image format automatically. If the raster image loaded correctly, the raster image smart pointer will be non-null, and we can use it to access raster image pixel data, format, palette and other properties.
### Saving raster images in a file
The raster services module can also be used for saving raster images. In our example, we will use the simplest method which detects the save format of the raster image from the output file name extension:
```
bool bSaveState = pRasSvcs->saveRasterImage(pOutputImage, outputFileName);
if (!bSaveState)
throw OdError(eFileWriteError);
```
### Accessing raster image pixels
For this article, we’ll use the following raster image of waves on a lake:
[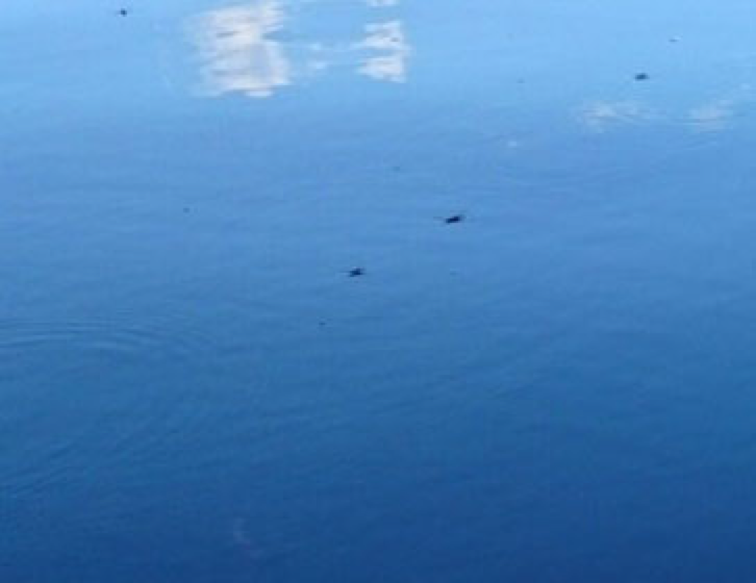](/files/images/blog/2017-02-02-pic1.png)
For the raster image experiments described in this series of articles, we require pixel colors from the four image corners. To access image pixels, OdGiRasterImage provides two versions of the scanLines method. The first (direct) scanlines access method isn’t supported by all types of raster images because not all of them contain a compatible pixel array. So first we must check that optimized scanlines access can be used for this kind of raster image:
```
ODCOLORREF inputColors[4];
if (pInputImage->scanLines())
{
const OdUInt8 *pPixels = pInputImage->scanLines();
inputColors[0] = ODRGB(pPixels[0], pPixels[1], pPixels[2]); // Bottom-left corner
pPixels += (pInputImage->pixelWidth() - 1) * 3;
inputColors[1] = ODRGB(pPixels[0], pPixels[1], pPixels[2]); // Bottom-right corner
pPixels = pInputImage->scanLines() + (pInputImage->scanLineSize() * (pInputImage->pixelHeight() - 1));
inputColors[2] = ODRGB(pPixels[0], pPixels[1], pPixels[2]); // Top-left corner
pPixels += (pInputImage->pixelWidth() - 1) * 3;
inputColors[3] = ODRGB(pPixels[0], pPixels[1], pPixels[2]); // Top-right corner
}
```
In this example (if the optimized pixels accessor returns a non-null data pointer), we store bottom-left, bottom-right, top-left and top-right pixel colors inside the inputColors array. Take into account that inside Teigha, raster image scanlines are stored in order from bottom to top, so the pointer returned by the scanLines method points to the bottom image scanline.
If the raster image doesn’t provide a direct scanlines accessor, we can always use another version of the scanLines method which copies the pixels array into an intermediate user-defined array. This method is supported for all types of raster images:
```
if (!pInputImage->scanLines())
{
OdUInt8Array scanLine;
scanLine.resize(pInputImage->scanLineSize());
pInputImage->scanLines(scanLine.asArrayPtr(), 0);
inputColors[0] = ODRGB(scanLine[0], scanLine[1], scanLine[2]); // Bottom-left corner
inputColors[1] = ODRGB(scanLine[(pInputImage->pixelWidth() - 1) * 3 + 0], // Bottom-right corner
scanLine[(pInputImage->pixelWidth() - 1) * 3 + 1],
scanLine[(pInputImage->pixelWidth() - 1) * 3 + 2]);
pInputImage->scanLines(scanLine.asArrayPtr(), pInputImage->pixelHeight() - 1);
inputColors[2] = ODRGB(scanLine[0], scanLine[1], scanLine[2]); // Top-left corner
inputColors[3] = ODRGB(scanLine[(pInputImage->pixelWidth() - 1) * 3 + 0], // Top-right corner
scanLine[(pInputImage->pixelWidth() - 1) * 3 + 1],
scanLine[(pInputImage->pixelWidth() - 1) * 3 + 2]);
}
```
In this example, we copy first (bottom) and last (top) scanlines into an intermediate array and copy their first and last pixel colors inside the inputColors array.
## Get started today
**Try ODA software free for 60 days.
No risk, no credit card required.**
[Try for Free](https://www.opendesign.com/free-trial)